AppSync
Introduction
Section titled “Introduction”AWS AppSync is a fully managed API management service that connects applications to events, data, and AI models.
LocalStack allows you to use the AppSync APIs in your local environment to connect your applications and services to data and events. The supported APIs are available on our API Coverage section, which provides information on the extent of AppSync’s integration with LocalStack.
Getting Started
Section titled “Getting Started”This guide is designed for users new to AppSync in LocalStack, and assumes basic knowledge of the AWS CLI and our awslocal wrapper script.
LocalStack supports two primary ways to work with AppSync:
- GraphQL: use schemas and resolvers to interact with data sources like DynamoDB.
- Events API: enable sending real-time event data to subscribed clients.
Start your LocalStack container using your preferred method, then jump into the section that matches your use case:
- GraphQL API: build query-based APIs with schema-first design.
- Events API: build with publish/subscribe style, real-time messaging.
GraphQL API
Section titled “GraphQL API”Create serverless GraphQL APIs to query databases, microservices, and other APIs. AppSync allows you to define your data models and business logic using a declarative approach, and connect to various data sources, including other AWS services, relational databases, and custom data sources.
This guide is designed for users new to AppSync and assumes basic knowledge of the AWS CLI and our awslocal wrapper script.
Start your LocalStack container using your preferred method. We will demonstrate how to create an AppSync API with a DynamoDB data source using the AWS CLI.
1. Create a DynamoDB table
Section titled “1. Create a DynamoDB table”You can create a DynamoDB table using the CreateTable API.
Execute the following command to create a table named DynamoDBNotesTable with a primary key named NoteId:
awslocal dynamodb create-table \ --table-name DynamoDBNotesTable \ --attribute-definitions AttributeName=NoteId,AttributeType=S \ --key-schema AttributeName=NoteId,KeyType=HASH \ --billing-mode PAY_PER_REQUESTAfter the table is created, you can use the ListTables API.
Run the following command to list all tables in your running LocalStack container:
awslocal dynamodb list-tables{ "TableNames": [ "DynamoDBNotesTable" ]}2. Create a GraphQL API
Section titled “2. Create a GraphQL API”You can create a GraphQL API using the CreateGraphqlApi API.
Execute the following command to create a GraphQL API named NotesApi:
awslocal appsync create-graphql-api \ --name NotesApi \ --authentication-type API_KEY{ "graphqlApi": { "name": "NotesApi", "apiId": "014d18d0c2b149ee8b66f39173", "authenticationType": "API_KEY", "arn": "arn:aws:appsync:us-east-1:000000000000:apis/014d18d0c2b149ee8b66f39173", "uris": { "GRAPHQL": "http://localhost:4566/graphql/014d18d0c2b149ee8b66f39173", "REALTIME": "ws://localhost:4510/graphql/014d18d0c2b149ee8b66f39173" }, "tags": {}, "xrayEnabled": false }}You can now create an API key for your GraphQL API using the CreateApiKey API.
Execute the following command to create an API key for your GraphQL API:
awslocal appsync create-api-key \ --api-id 014d18d0c2b149ee8b66f39173{ "apiKey": { "id": "31d94a05", "expires": 1693551600 }}3. Create a GraphQL schema
Section titled “3. Create a GraphQL schema”Create a file named schema.graphql with the following content:
type Note { NoteId: ID! title: String content: String}type PaginatedNotes { notes: [Note!]! nextToken: String}type Query { allNotes(limit: Int, nextToken: String): PaginatedNotes! getNote(NoteId: ID!): Note}type Mutation { saveNote(NoteId: ID!, title: String!, content: String!): Note deleteNote(NoteId: ID!): Note}type Schema { query: Query mutation: Mutation}You can start the schema creation process using the StartSchemaCreation API.
Execute the following command to start the schema creation process:
awslocal appsync start-schema-creation \ --api-id 014d18d0c2b149ee8b66f39173 \ --definition file://schema.graphql{ "status": "ACTIVE"}4. Create a data source
Section titled “4. Create a data source”You can create a data source using the CreateDataSource API.
Execute the following command to create a data source named DynamoDBNotesTable:
awslocal appsync create-data-source \ --name AppSyncDB \ --api-id 014d18d0c2b149ee8b66f39173 \ --type AMAZON_DYNAMODB \ --dynamodb-config tableName=DynamoDBNotesTable,awsRegion=us-east-1{ "dataSource": { "dataSourceArn": "arn:aws:appsync:us-east-1:000000000000:apis/014d18d0c2b149ee8b66f39173/datasources/AppSyncDB", "name": "AppSyncDB", "type": "AMAZON_DYNAMODB", "dynamodbConfig": { "tableName": "DynamoDBNotesTable", "awsRegion": "us-east-1" } }}5. Create a resolver
Section titled “5. Create a resolver”You can create a resolver using the CreateResolver API.
You can create a custom request-mapping-template.vtl and response-mapping-template.vtl file to use as a mapping template to use for requests and responses respectively.
Execute the following command to create a VTL resolver attached to the PaginatedNotes.notes field:
awslocal appsync create-resolver \ --api-id 014d18d0c2b149ee8b66f39173 \ --type Query \ --field PaginatedNotes.notes \ --data-source-name AppSyncDB \ --request-mapping-template file://request-mapping-template.vtl \ --response-mapping-template file://response-mapping-template.vtlEvents API
Section titled “Events API”Create a fully managed WebSocket API that lets you subscribe to channels and broadcast events to subscribers.
1. Create an Events API
Section titled “1. Create an Events API”You can create an Events API using the CreateApi API. The following command will create an Events API with the name my-api.
Note the apiId, dns.REALTIME and dns.HTTP in the outputs as it will be reused as <api-id>, <realtime-domain> and <http-domain> for the remainder of this example.
awslocal appsync create-api \ --name my-api \ --event-config '{ "authProviders":[{"authType": "API_KEY"}], "connectionAuthModes":[{"authType": "API_KEY"}], "defaultSubscribeAuthModes":[{"authType": "API_KEY"}], "defaultPublishAuthModes":[{"authType": "API_KEY"}] }'{ "api": { "apiId": "<api-id>", "name": "my-api", "tags": {}, "dns": { "REALTIME": "<endpoint-id>.appsync-realtime-api.ca-west-1.amazonaws.com", "HTTP": "<endpoint-id>.appsync-api.ca-west-1.amazonaws.com" }, "apiArn": "arn:aws:appsync:us-east-1:000000000000:apis/<api-id>", "created": "2025-07-14T11:38:32.594000-06:00", "eventConfig": {...} }}2. Create a channelNamespace
Section titled “2. Create a channelNamespace”You can create an channelNamespace using the CreateChannelNamespace API. At least one channelNamespace is required in order to subscribe and publish to it.
awslocal appsync create-channel-namespace \ --api-id <api-id> \ --name "default"{ "channelNamespace": { "apiId": "<api-id>", "name": "default", "tags": {}, "channelNamespaceArn": "arn:aws:appsync:us-east-1:000000000000:apis/<api-id>/channelNamespace/default", "created": "2025-07-14T11:39:44.554000-06:00", "lastModified": "2025-07-14T11:39:44.554000-06:00", "handlerConfigs": {} }}3. Create an API Key
Section titled “3. Create an API Key”You can create an Api Key using the CreateApiKey API. The Api Key is used to authenticate Websocket connections and authorize publish and subscribe events. Note you Api Key id as it will be referenced as <api-key-id> in this example.
awslocal appsync create-api-key --api-id <api-id>{ "apiKey": { "id": "<api-key-id>", "expires": 1753117200, "deletes": 1758301200 }}4. Connect via WebSocket
Section titled “4. Connect via WebSocket”This example will use wscat to create a WebSocket connection. From there, we will create a subscription and show an example of how to publish via WebSocket and HTTP. If you do not have it installed, it can be installed as a npm global package with the following command.
npm install -g wscatExport to your shell all of the required configuration. Note that we are base64 encoding the headers in a url safe manner.
export HTTP_DOMAIN=<http-domain>export REALTIME_DOMAIN=<realtime-domain>export API_KEY=<api-key-id>export HEADER="{\"host\":\"$HTTP_DOMAIN\", \"x-api-key\":\"$API_KEY\"}"export HEADER=`echo "$HEADER" | base64 | tr '+/' '-_' | tr -d '\n='`Using wscat you can now connect to your api. Note that we are sending the base64 encoded header map as subprotocol.
wscat \ -s "header-$HEADER" \ -s "aws-appsync-event-ws" \ -c "ws://$REALTIME_DOMAIN/event/realtime"Connected (press CTRL+C to quit)> |5. Subscribe to a channel
Section titled “5. Subscribe to a channel”Once connected a subscribe event containing the following keys can be sent: type, id, channel and authorization.
The connection id is later reused when receiving events from this subscription and when sending an unsubscribe event.
{"type": "subscribe", "channel": "/default/*", "id": "1234567890", "authorization": { "x-api-key": "<api-key-id>"}}< {"id":"1234567890","type":"subscribe_success"}6. Publish via WebSocket
Section titled “6. Publish via WebSocket”Once subscribed, a publish event can be sent. Note that the subscription create to listen to every sub-channel of default via /default/* so publish event sent to /default/race or /default/race/formulaOne would be received by the subscriber, but events published to root /default, in this case would not be received.
A subscribe event contains the following keys: type, channel, events and authorization. Note that events must be a list of JSON string.
{"type": "publish", "channel": "/default/race", "events": ["{\"team\": \"McLaren\"}"], "authorization": {"x-api-key": "<api-key-id>"}, "id": "000"}The publish_success event is received first followed by the published event
< {"id":"000","type":"publish_success","successful":[{"identifier":"7e77f331-bf1b-4e42-9c9e-6e7c34dcf7f2","index":0}],"failed":[]}< {"id":"1234567890","type":"data","event":"{\"team\": \"McLaren\"}"}7. Publish via HTTP
Section titled “7. Publish via HTTP”Create a file named publishEvent.json with and paste within the following content.
{ "channel": "default/channel", "events": [ "{\"event_1\":\"data_1\"}", "{\"event_2\":\"data_2\"}" ]}In a separate terminal from your WebSocket connection, make a POST request containing a publish event can be sent to the http endpoint.
curl -X POST "http://${HTTP_DOMAIN}/event" \ -d @publishEvent.json \ -H "x-api-key: ${API_KEY}" \ -H "content-type: application/json"{ "failed": [], "successful": [ { "identifier": "1260cde1-a50c-410d-9eee-9932eb32511d", "index": 0 }, { "identifier": "5f4e1897-9295-4ac0-a6fd-185736e48744", "index": 1 } ]}In your terminal with the WebSocket Connection, you can now see the 2 new events
< {"id":"1234567890","type":"data","event":"{\"event_1\":\"data_1\"}"}< {"id":"1234567890","type":"data","event":"{\"event_2\":\"data_2\"}"}Shared configurations
Section titled “Shared configurations”Custom API IDs
Section titled “Custom API IDs”You can employ a pre-defined ID during the creation of AppSync APIs by utilizing the special tag _custom_id_.
For example, the following command will create a GraphQL API with the ID faceb00c. --tags can also be passed when creating an Events API, and both the API id and the endpoint id will use the provided id.
awslocal appsync create-graphql-api \ --name my-api \ --authentication-type API_KEY \ --tags _custom_id_=faceb00c{ "graphqlApi": { "name": "my-api", "apiId": "faceb00c", "authenticationType": "API_KEY", "arn": "arn:aws:appsync:us-east-1:000000000000:apis/my-api", "uris": { "GRAPHQL": "http://localhost:4566/graphql/faceb00c", "REALTIME": "ws://localhost:4510/graphql/faceb00c" }, "tags": { "_custom_id_": "faceb00c" } }}Data sources
Section titled “Data sources”LocalStack supports the following data source types types and services:
| Resolver Type | Description |
|---|---|
AMAZON_DYNAMODB | Provides access to DynamoDB tables. |
RELATIONAL_DATABASE | Provides access to RDS database tables. |
AWS_LAMBDA | Allows retrieval of data from Lambda function invocations. |
HTTP | Enables calling HTTP endpoints to fetch data. |
NONE (GraphQL API Only) | Used for pass-through resolver mapping templates returning input data. |
GraphQL resolvers
Section titled “GraphQL resolvers”LocalStack’s AppSync offers support for both unit and pipeline resolvers, as detailed in the AWS resolvers documentation. Unit resolvers consist of request and response mapping templates, facilitating the transformation of requests to and from data sources.
Pipeline resolvers, on the other hand, invoke AppSync functions that wraps the AppSync data sources. Unit resolvers are written in the Velocity templating language (VTL), while pipeline resolvers can be written in either VTL or JavaScript.
Configuring GraphQL endpoints
Section titled “Configuring GraphQL endpoints”There are three configurable strategies that govern how GraphQL API endpoints are created.
The strategy can be configured via the GRAPHQL_ENDPOINT_STRATEGY environment variable.
| Value | Format | Description |
|---|---|---|
domain | <api-id>.appsync-api.localhost.localstack.cloud:4566 | This strategy, slated to be the future default, uses the localhost.localstack.cloud domain to route to your localhost. |
path | localhost:4566/appsync-api/<api-id>/graphql | An alternative strategy that can be beneficial if you’re unable to resolve LocalStack’s localhost domain. |
legacy | localhost:4566/graphql/<api-id> | This strategy represents the old endpoint format, which is currently the default but will eventually be phased out. |
Event handlers
Section titled “Event handlers”LocalStack supports configuring code handlers for your channel namespace. Code handlers can be configured with or without data sources.
Configuring Event endpoints
Section titled “Configuring Event endpoints”We are registering 2 type of endpoints that you can use to target you Events API. The examples represent the HTTP endpoint with appsync-api but the same is true for REALTIME endpoint with appsync-realtime-api. Note that unlike for GraphQL APIs, Events API endpoint is isn’t the same as the API ID.
| Value | Format | Description |
|---|---|---|
domain | <endpoint-id>.appsync-api.localhost.localstack.cloud:4566 | This strategy, uses the localhost.localstack.cloud domain to route to your localhost. |
path | localhost:4566/_aws/appsync-api/<endpoint-id> | An alternative strategy that can be beneficial if you’re unable to resolve LocalStack’s localhost domain. |
Evaluation endpoints
Section titled “Evaluation endpoints”LocalStack supports code evaluation endpoints: EvaluateCode and EvaluateMappingTemplate.
Code can be either passed in as a string, or from a file with the file:// prefix for the --template/--code arguments.
See the AWS documentation for evaluate-mapping-template and evaluate-code for more details.
VTL resolver templates
Section titled “VTL resolver templates”awslocal appsync evaluate-mapping-template \ --template '$ctx.result' \ --context '{"result":"ok"}'{ "evaluationResult": "ok", "logs": []}JavaScript code evaluation
Section titled “JavaScript code evaluation”awslocal appsync evaluate-code \ --runtime name=APPSYNC_JS,runtimeVersion=1.0.0 \ --function request \ --code 'export function request(ctx) { return ctx.result; } export function response(ctx) {}' \ --context '{"result": "ok"}'{ "evaluationResult": "ok", "logs": []}Resource Browser
Section titled “Resource Browser”GraphQL API
Section titled “GraphQL API”The LocalStack Web Application provides a Resource Browser for managing AppSync APIs, Data Sources, Schema, Query, Types, Resolvers, Functions and API keys. You can access the Resource Browser by opening the LocalStack Web Application in your browser, navigating to the Resources section, and then clicking on AppSync under the App Integration section.
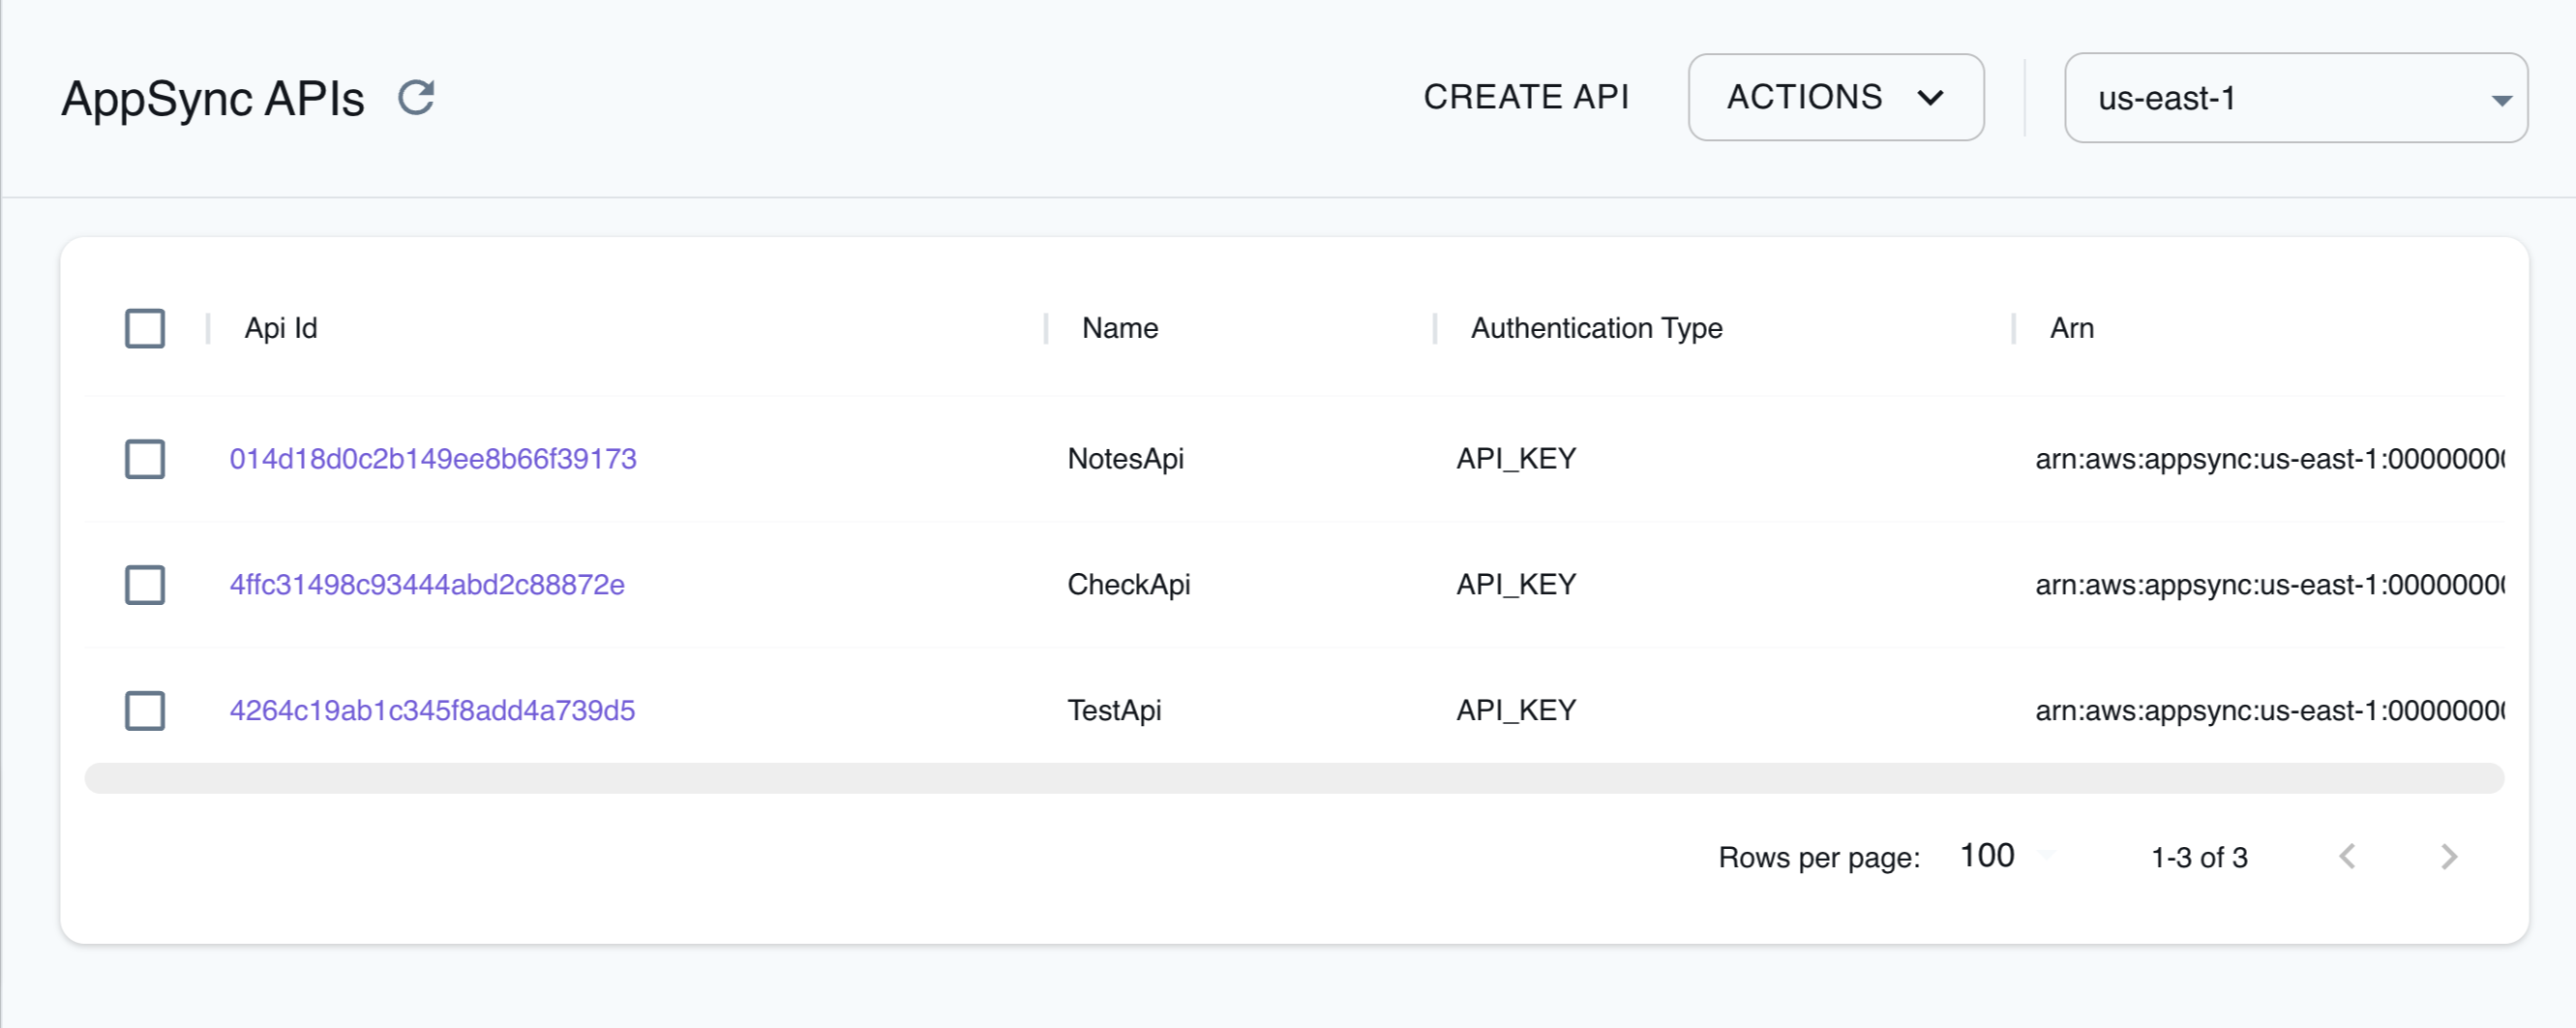
The Resource Browser allows you to perform the following actions:
- Create API: Create a new GraphQL API by clicking Create API and providing a name for the API, Authentication Type, and optional tags among other parameters.
- Edit API: Click on the GraphQL API name and click Edit API to edit the GraphQL API, by updating the parameters before clicking Submit.
- Create Data Source: Click on the GraphQL API name and click Data Source. Click on Create Data Source to create a new data source for the GraphQL API, by providing a name for the data source, data source type, and Service Role ARN before clicking Submit.
- Edit Data Source: Click on the GraphQL API name and click Data Source. Click on the data source name and click Edit Data Source to edit the data source, by updating the parameters before clicking Submit.
- Create Types: Click on the GraphQL API name and click Types. Click on Create Type to create a type definition, in GraphQL Schema Definition Language (SDL) format, before clicking Submit.
- Create API Key: Click on the GraphQL API name and click API Keys. Click on Create API Key to create an API key for the GraphQL API, by providing a description for the API key and its expiration time before clicking Submit.
- View and edit Schema: Click on the GraphQL API name and click Schema. You can view the GraphQL schema, and edit the GraphQL schema, in GraphQL Schema Definition Language (SDL) format, before clicking Update.
- Query: Click on the GraphQL API name and click Query. You can query the GraphQL API by providing the GraphQL query and variables, including the operation and API key, before clicking Execute.
- Attach Resolver: Click on the GraphQL API name and click Resolvers. Click on Attach Resolver to attach a resolver to a field, by providing the field name, data source name, Request Mapping Template, Response Mapping Template, among other parameters, before clicking Submit.
- Create Function: Click on the GraphQL API name and click Functions. Click on Create Function to create a function, by providing a name for the function, data source name, and Function Version, Request Mapping Template, Response Mapping Template, among other parameters, before clicking Submit.
Events API
Section titled “Events API”Examples
Section titled “Examples”The following code snippets and sample applications provide practical examples of how to use AppSync in LocalStack for various use cases:
API Coverage
Section titled “API Coverage”| Operation ▲ | Implemented | Image |
|---|